The Inflatable Seal Design Process: Precision at Every Stage
We take a systematic approach to inflatable seal design that ensures your seal meets and exceeds your expectations and project specifications.
When performance is mission-critical, every detail of your inflatable seal matters.
At Seal Master Corporation, we take a systematic approach to inflatable seal design that ensures your seal meets and exceeds your expectations and project specifications. From first concept to long-term reliability, our process is built around engineering rigor, material science, and a commitment to solving your toughest sealing challenges.
So, how do we do it?

Here’s our seven-step process to solid seal design:
1. DEFINE THE APPLICATION
2. SELECT THE OPTIMAL CONFIGURATION
3. CHOOSE REINFORCEMENT AND MATERIAL
4. ENGINEER THE GROOVE AND RETENTION
5. DEFINE INFLATION SOURCE AND CONNECTOR
6. PROTOTYPE AND VALIDATE
7. DOCUMENT AND PLAN FOR LONGEVITY

Step 1: Define the Application
The process begins with clarity. We assess your operating environment, pressure ranges, temperature limits, and regulatory requirements.
Whether the seal must perform in aerospace, pharmaceutical, or industrial settings, these parameters form the foundation of a design that won’t fail when it matters most.
Step 2: Select the Optimal Configuration
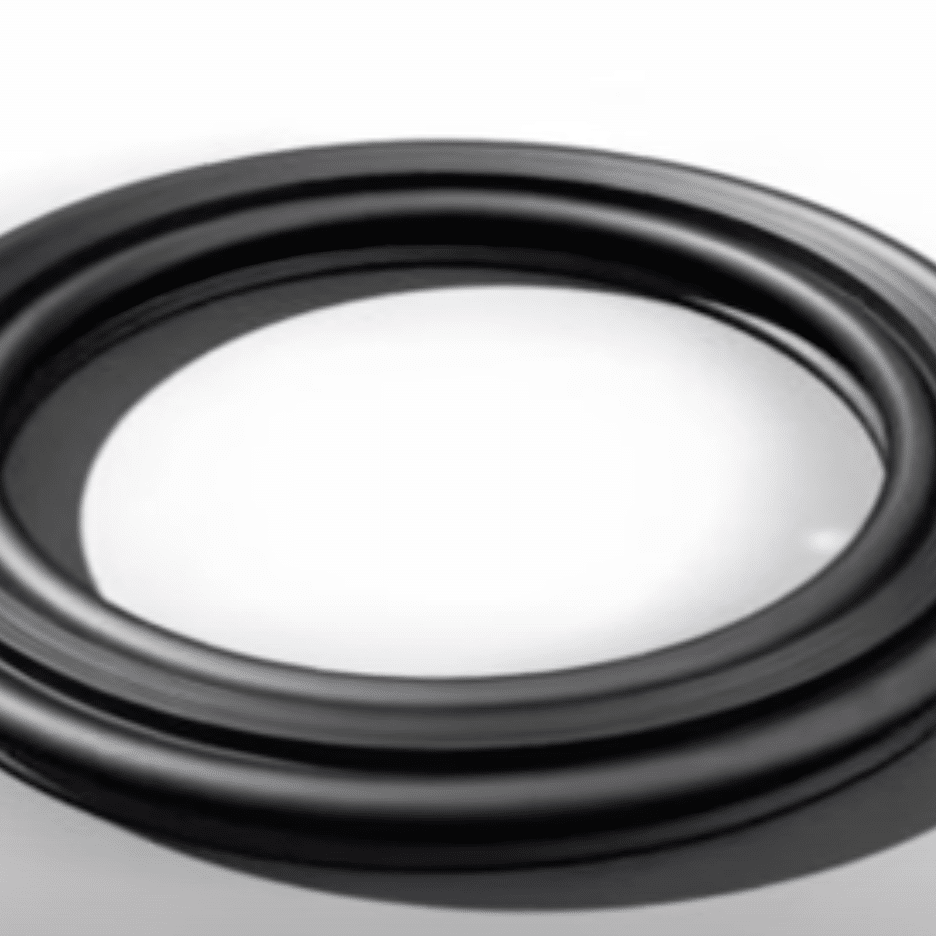
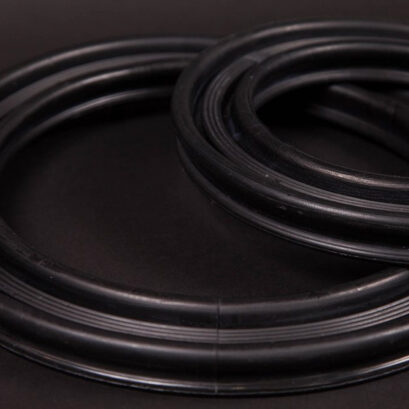
Every application calls for a shape that complements its geometry. For example, circular, straight, and U-shaped profiles all have unique performance characteristics. Each has its place, and it’s our job to match the configuration to your industrial processes and needs.
By aligning configuration with expansion direction and mounting space, we ensure a perfect fit without costly redesigns.


Step 3: Choose Reinforcement and Materials
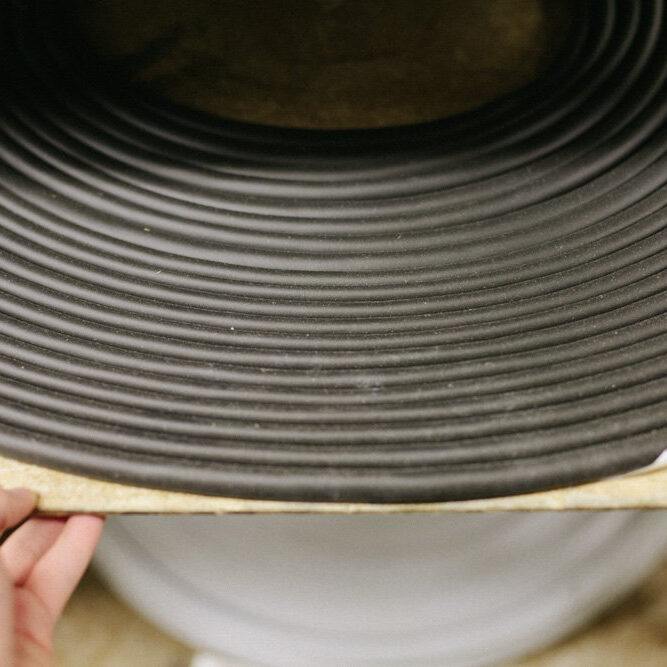
Seal integrity depends on both construction and chemistry. Fabric-reinforced seals deliver durability under high pressure and frequent cycling, while non-reinforced versions offer flexibility for lighter duty.
Material selection, from FDA-compliant silicone to chemical-resistant fluorocarbon, is guided by thermo-mechanical properties, chemical compatibility, and compliance standards.
With the right materials, your inflatable seals will hold up in your environment for the long haul.
Step 4: Engineer the Groove and Retention
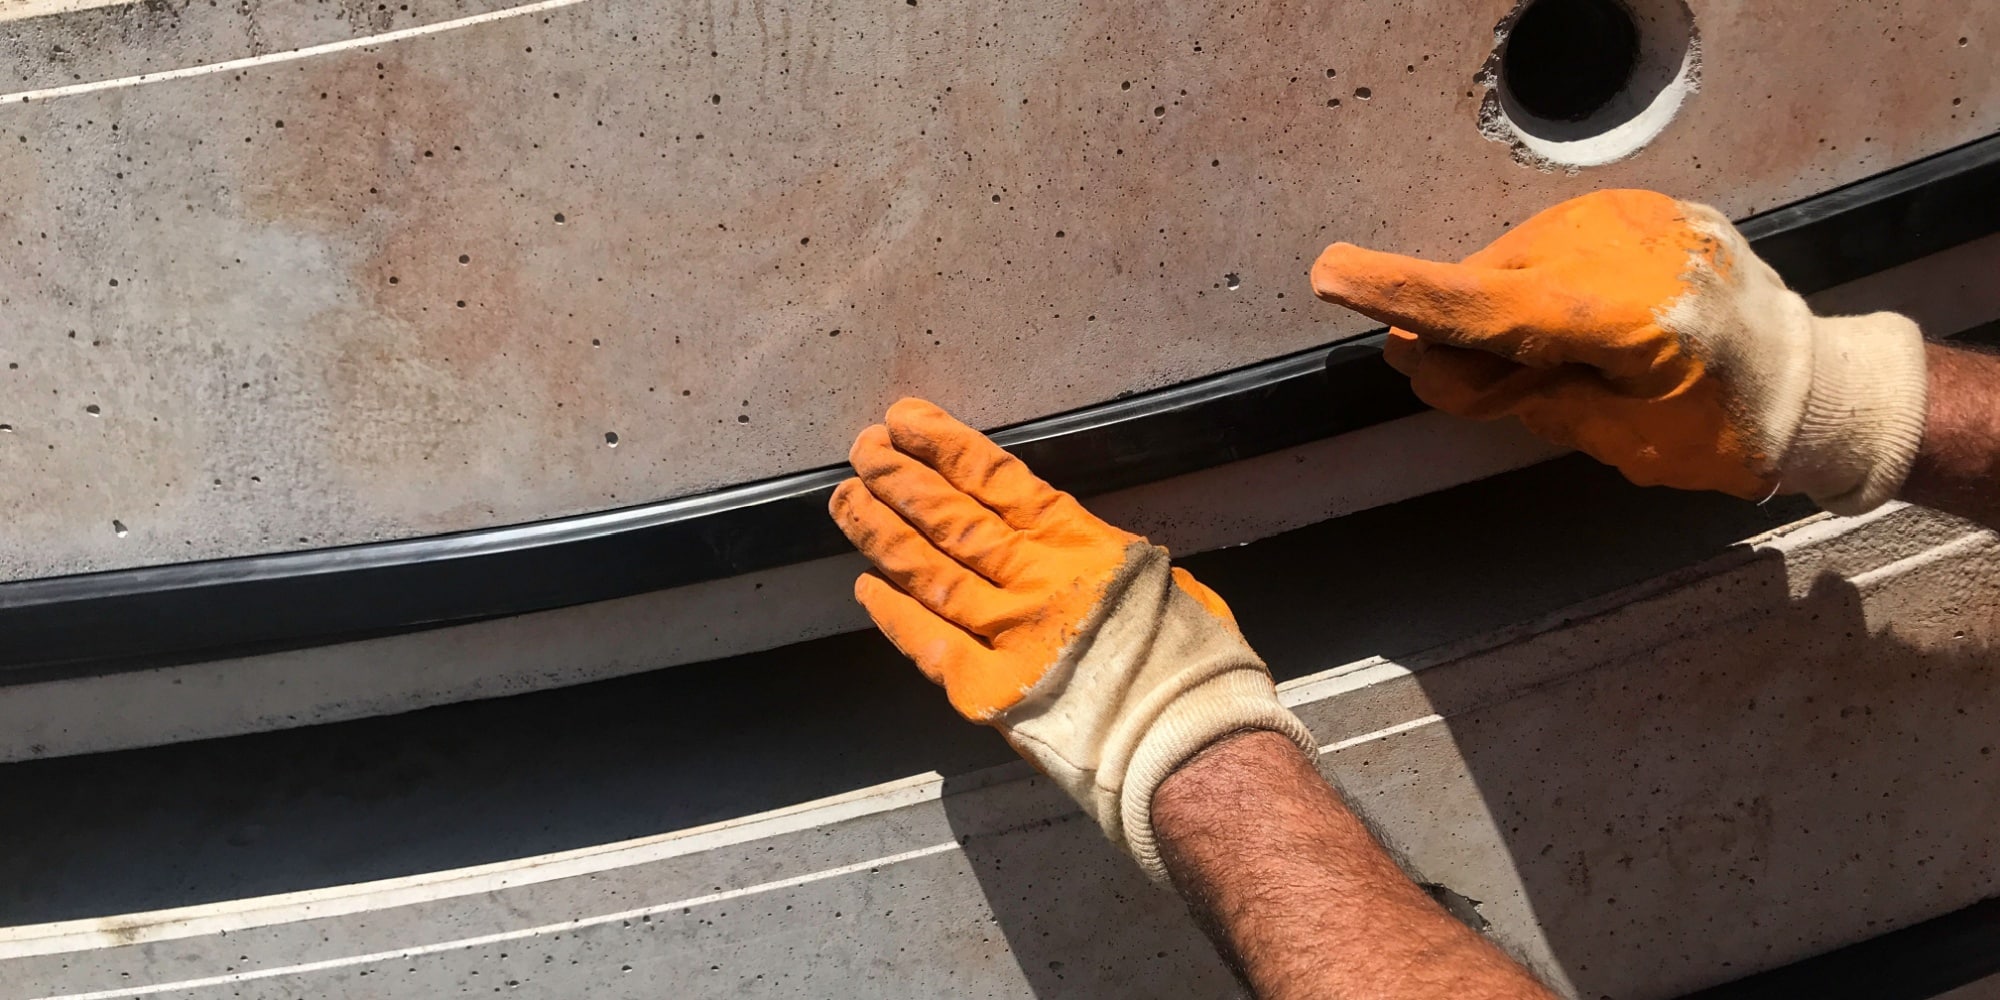
A well-designed groove and secure retention method prevent leaks, bulging, or premature wear. We apply proven engineering principles to create grooves that support free inflation and retention systems (adhesive, dovetail, ribbed, or clamped) that keep the seal precisely where it belongs.


Step 5: Define Inflation Source and Connector
The connector is the seal’s lifeline. We match inflation sources (air, inert gas, or clean gas) with connectors designed for stability, cleanliness, and reliability.
The result is safe, consistent performance that integrates seamlessly with your system.
Step 6: Prototype and Validate
Designs don’t stop at CAD. We validate seals in real operating conditions and not just the lab.
Through groove fit checks, leak integrity tests, and accelerated cycle endurance, we confirm performance before production scaling. We spare no effort or step to give you a seal that performs as promised under real-world pressures.


Step 7: Document and Plan for Longevity
The final step is ensuring long-term reliability. We deliver documentation, installation instructions, and maintenance strategies that help operators extend seal life, reduce downtime, and maintain compliance.
With clear SOPs, you gain confidence that the seal will perform not only today, but years from now.